Инструменты страницы
PrestaShop
With the installed plugin for PrestaShop, your customers will be able to pay with you through the Sberbank payment page.
The instructions for installing and configuring the plugin for PrestaShop version 1.7.x are given as example.
Installation
To install the payment plugin, follow these steps.
- Log in to your PrestaShop admin panel.
- In the left pane, select Modules> Modules and Services (see image below).

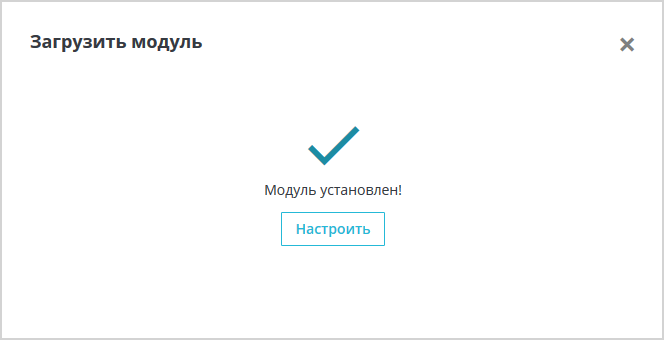
- Click on the Upload a module button in the upper right corner.
- To configure the module after installation, click on the Configure button (see description below).
Configuration
To set up a payment plugin, follow these steps.
- In the PrestaShop admin panel select Modules> Modules and Services
- Select the Installed modules tab
- Find the Payment by bank card module in the list of installed modules

You can also search for the phrase «payment by credit card». - Click on the Configuration button opposite the installed module.
The following page will be displayed.

- Configure basic settings referring to the table below.
Configuration Description Login Login of a service account in a payment gateway with a suffix -api.
If the plugin is running in test mode, you should specify the login for the test user account. If the plugin is running in production mode, you should specify the password for the production user account.
Password The password for the service account in the payment gateway.
If the plugin is running in test mode, you should specify the password for the test user account. If the plugin is running in standard (production) mode, you should specify the password for the production user account.
Test mode Select in which mode the payment plugin works
- Yes – the plugin works in test mode;
- No – the plugin works in the live mode.
Allows you to set the plug-in operation mode: test or live (working).
- If the plugin is running in test mode, in the respective fields (Login and Password) you should specify the data of the test service account.
- If the plugin works in the live mode, in the respective fields (Login and Password) you should specify the data of the live service account.
Default order status Select the order status that will be displayed to customers and you in PrestaShop after choosing a payment method through the payment plugin. Paid order status Select the order status that will be displayed to customers and to you in PrestaShop:
- after holding funds in the case of a two-phase payment;
- after successful completion of the payment, in the case of a one-phase payment.
Failed order status Select the order status that will be displayed to customers and to you in PrestaShop in case of a payment error. Log requests to the gateway Allows you to enable or disable event logging.
In the Other settings tab, set up passing of shopping cart referring to the table below.

| Configuration | Description |
|---|---|
| Send shopping cart data to payment gateway |
Allows you to choose whether the shopping cart will be sent and whether a sales receipt will be generated. To be able to use this functionality, please contact your bank representative. For more details see section on compliance with law 54-FZ. |
| Taxation scheme |
Tax system. The following values are available:
This setting is applied only if you have configured fiscalization parameters – see details in section on compliance with law 54-FZ. |
| Default tax rate |
VAT rate. The following values are available:
This setting is applied only if you have configured fiscalization parameters – see details in section on compliance with law 54-FZ. |
| Payment type |
Payment type. Possible values:
The settings are effective only if the format of fiscal documents of version 1.05 and higher is selected. |
| Payment type for delivery |
Payment type for delivery starting from 1.05
|
| Type of item being paid for |
Type of item being paid for. Possible values:
The settings are effective only if the format of fiscal documents of version 1.05 and higher is selected. |
Click on the Save icon at the bottom right of the settings form.
